Concept...
Here is the final concept sheet for Vince Vallero.
I made blueprints according to this concept and imported them into 3Ds Max to begin modelling.
Model & Rig...
Here is the final model for Vince. I also set him up using the biped and posed him to make skinning easier.
I skinned him using the physique modifier, a problem I found was no option available to mirror weights from one side to the other, so have to re-weight the other side basically doubled time it should have took to skin the character.
Uv & Texturing
Here are the UV's I made for Vince. I first unwrapped Vince in 3DS Max (This was a whole new thing to me, and something definitely worthwhile learning.)
I then imported the UV's into photo shop and made the textures, the jeans are actually a pair of my own!
Final Model with Textures
Here is the final model complete, the textures went on fine with only minor adjustments that had to be made.
He's ready now to have motion data set up to drive him.
Motion Capture & Mixer
After the Rig, Model & Textures were finished I started playing the motion capture data, I put them onto the biped to see how he moved. Everything was ok so nothing needed to be changed skinning/rigging-wise. After looking through the motion data files I found a few I liked and mixed them together using the mixer. I then made quick environments to put him in and rendered them out as RPF's that I later pieced together in After Effects.
Ragdoll
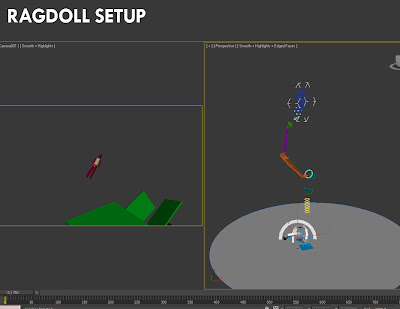
 Playing with RagDolls in reactor was fun! Then again what isn't fun about throwing some helpless bloke around into obstacles.
 After learning how to set Reactor & RagDolls up I decided I was going to make a "assault" course for the RagDoll to fall down. Good stuff.
Something I kept forgetting to do was add objects to the Rigid Body Collection.
Particles
Setting put particle systems in 3Ds Max was interesting, and quite confusing. After getting my head around it I realise how much you can actually do.
Not trying to wander too far from what we learnt in class I decided to keep but re-address the bouncing ball particle system.
Materials
Advanced materials was something I wanted to look into to in 3DS Max, especially Mental Ray materials.
What we learnt in class was really useful and I learnt how to make loads of different types of materials just using Arch & Design.
The glowing ball took a bit of playing with, getting it bright enough to give a nice glow onto objects but not glare too much in reflective materials was fidigty.
Render Passes
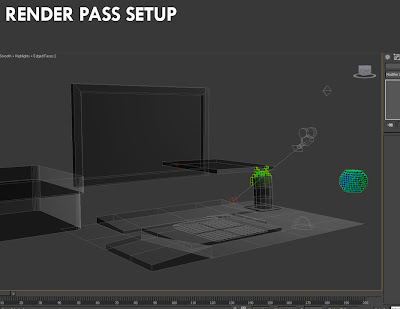
Setting up Render Passes in 3ds Max seemed tedious, but the outcome is definitely worth it.
Overlaying the layers in After Effects was fun, seeing all the layers come together one by one was interesting and showed how images can be built up.
One problem I had was getting the layer order wrong, I soon fixed it though.
Camera Matching
Camera matching is something I really wanted to learn. I have a few projects in my head lined up of putting a 3D robot into a filmed environment, so getting the lighting right is crucial.
I took a picture of my bedroom and used a small HDRI probe Jay had given me to get the reflections right, was interesting.
Getting the materials correct took some messing around but worked brilliantly once I sorted them.
Lip sync
With my lip sync I decided to not use the provided head as I found it had a few missing phoneme shapes.
I used the MAX rig from 11seconds Club, the Morph Targets are controlled by controllers in the view port. Easier than messing with the modifier panel & sliders.
The problem I found was the hanging key, when half way through an animation I would animate a new feature that I hadn't touched before, but the keyframe would be made at frame 0.


